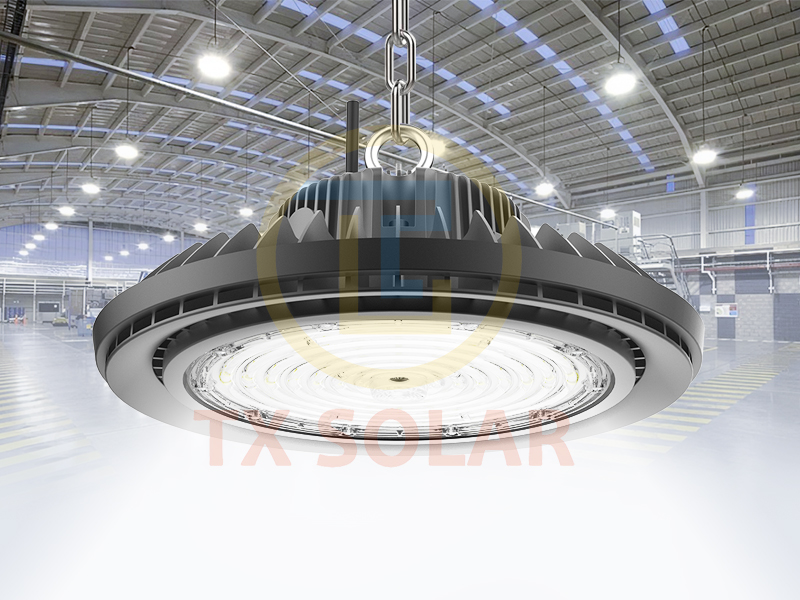
High bay lights are a popular lighting solution for large indoor spaces such as warehouses, factories, gyms and retail stores. These powerful lights are designed to provide bright and even illumination from high mounting positions, making them ideal for spaces with high ceilings. If you are considering installing high bay lights in your facility, it is important to understand the installation process to ensure optimal performance and safety. In this article, we’ll discuss how to install high bay lights and provide some tips for a successful installation.
Before starting the installation process, it is important to gather all necessary tools and equipment. You’ll need a ladder or scaffolding to reach the installation location, as well as basic hand tools like screwdrivers, wire strippers, and a voltage tester. Additionally, you’ll need to have the high bay light itself, as well as any mounting hardware and wiring components you might need.
Determine location
The first step in the installation process is to determine the best location for your high bay lights. This will depend on the specific requirements of your space and the type of high bay lights you use. Generally speaking, high bay lights should be installed at a height that distributes light evenly throughout the space. It is also important to consider factors such as light angle and any obstructions that may affect the distribution of light.
Prepare the installation area
After determining the installation location, you need to prepare the installation area. This may involve removing any existing lighting fixtures or making adjustments to the mounting surface to ensure a safe and stable installation. Be sure to follow the manufacturer’s guidelines for installing high bay lights, as improper installation can cause performance issues and safety hazards.
Install hardware
Next, you’ll need to install the mounting hardware for your high bay light. This may involve attaching mounting brackets to the ceiling or other support structure, depending on the specific design of the light. It is important to ensure that the mounting hardware is securely attached and can support the weight of the high bay light.
Install the high bay light
Once the mounting hardware is in place, you can move on to installing the high bay light itself. This usually involves connecting the light’s wiring to a power source and securing the light to the mounting hardware. Be sure to follow the manufacturer’s wiring and installation instructions to ensure proper functionality and safety.
Test
After you install your high bay lights, it’s important to test them to make sure they’re working properly. This may involve turning the lights on and off, as well as checking for any flickering or other issues that might indicate a problem. It’s also a good idea to check the angle and distribution of light to make sure it meets the requirements of the space.
In addition to the basic installation process, there are some additional considerations to remember when installing high bay lights. For example, it is important to ensure that the light’s power supply is rated correctly and can meet the wattage requirements of the light. It is also important to consider factors such as heat dissipation and ventilation to ensure the longevity and performance of the light.
In summary, installing high bay lights requires careful planning and attention to detail to ensure optimal performance and safety. By following the manufacturer’s guidelines and considering the specific requirements of your space, you can successfully install high bay lights to provide bright, even lighting for your facility. If you are unsure about any aspect of the installation process, it is best to consult a professional electrician or lighting expert to ensure a successful installation.
Post time: Aug-01-2024

